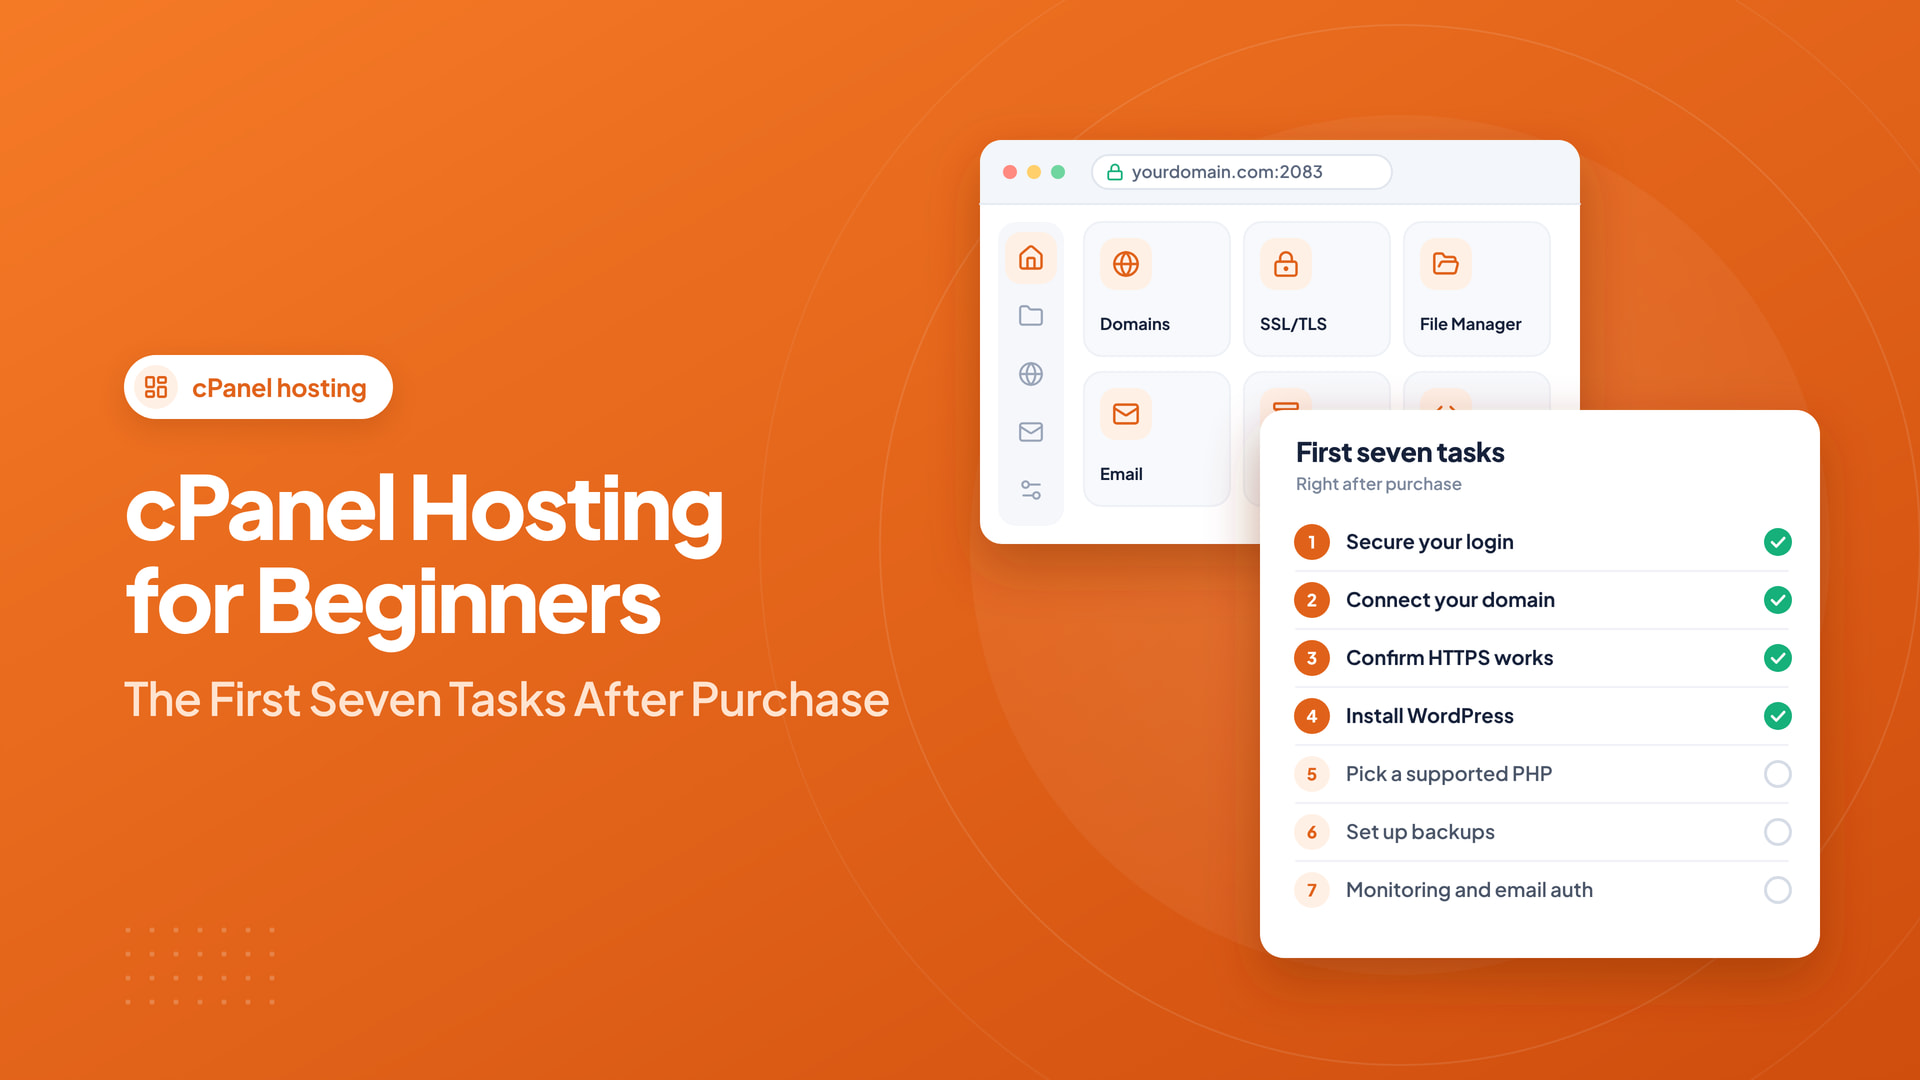
Buying a hosting account is only the beginning. The first hour of setup determines whether your website starts with sensible security, clean configuration, and an easy path to recovery. This guide focuses on tasks a new cPanel user can verify without becoming a server administrator.
Quick answer: After purchasing cPanel hosting, secure logins, verify DNS, establish HTTPS, install your application safely, check PHP compatibility, and prove that backups and email work before treating the site as live.
1. Secure your account credentials
Use a long, unique password and enable multi-factor authentication wherever the provider supports it. Keep your hosting account login distinct from the WordPress administrator login. Never send passwords over public chat or unencrypted email.
2. Connect your domain correctly
Confirm the nameservers requested by your host or use the correct DNS records if you manage DNS elsewhere. An A record points a hostname toward an IPv4 address, while MX records route incoming mail. DNS changes can take time to become visible across caches, so test before repeatedly modifying working records.
3. Confirm HTTPS works
After the domain resolves to the hosting account, inspect cPanel’s SSL/TLS status or AutoSSL feature. Verify that both the preferred hostname and its www version behave as intended. Avoid forcing an HTTPS redirect until a valid certificate is available, or visitors may see a browser warning.
4. Install WordPress carefully
Softaculous, when provided, can simplify WordPress installation. Choose the correct domain and installation directory, create a non-obvious administrator name, and select a strong password. Do not install WordPress into a subfolder accidentally when you want it at the domain root.
5. Select a supported PHP version
Different themes and plugins have their own requirements. Prefer a currently supported PHP branch that is compatible with the site. Test the site after upgrading PHP, particularly payment gateways, custom code, and older plugins.
6. Establish a backup routine
Find out whether your provider includes automatic backups and what retention applies. Export at least one independent copy of the site files and database after initial setup. Test your recovery procedure on a staging site before you actually need it.
7. Set up monitoring and email authentication
Create a professional mailbox only if you intend to maintain it. Verify SPF, DKIM, and DMARC with the mail service’s official instructions. Set up uptime monitoring and check that WordPress administrative email reaches a working inbox.
A shared package with cPanel and WordPress-friendly features from Intelwebhost is one option to evaluate when starting out. Verify the exact package and control-panel features before ordering.
The first 30 minutes: build a security baseline
Before uploading your actual website, check that the cPanel login uses HTTPS and that the administrator password is unique. Enable two-factor authentication where available. Record recovery access separately from the daily login. Do not share the primary credentials with every freelancer; create limited FTP, email, or WordPress accounts when possible. A secure beginning is much easier than recovering control after several users have copied the same password.
In File Manager, identify the actual public document root rather than placing sensitive configuration files in public directories. If you upload a full-site archive, remove the archive from the public directory after extraction and verification. Use a supported PHP release, then confirm that WordPress, themes, and plugins are compatible before changing versions on a live site.
Understand DNS without guesswork
The domain registrar, authoritative DNS service, and hosting server may be three different systems. Changing a nameserver points authority to another DNS provider; changing an A record only changes a specific address record. Before replacing nameservers, export the entire existing zone, including MX, TXT, DKIM, SPF, and verification records. Losing an email-related record can stop legitimate messages even when the website itself starts working.
For a new site, confirm the A and AAAA records resolve to the intended server and that the www hostname has an appropriate record. Wait for DNS propagation and verify the account’s domain is correctly configured before relying on automatic SSL issuance. If an SSL certificate is not issued, inspect DNS resolution, validation reachability, and domain ownership instead of repeatedly forcing certificate requests.
Publish WordPress with a rollback option
Install WordPress using a reliable application installer or the official WordPress package. Create a strong administrator credential, set an accurate site URL, and delete unused themes and plugins. Use HTTPS from the beginning and check that internal resources do not load over HTTP. Set permalink structure once, then test a page, a form, and image uploads before bringing traffic.
Establish a staging or backup copy before making major visual changes. The safest update order is backup, plugin/theme updates in staging, basic tests, and then production rollout. After installing any caching plugin, verify that contact forms and account pages still behave correctly.
Make email delivery a deliberate step
An email address such as info@yourdomain.com is useful only when other providers accept its messages. Create mailboxes or forwarding rules, then confirm the correct MX records. Publish SPF and DKIM using the values supplied by your outgoing mail provider, and configure DMARC with a sensible monitoring approach before enforcing a strict policy. Avoid publishing two independent SPF TXT records at the same domain name.
Test delivery to multiple recipient providers. Check that replies return to the correct mailbox and that password-reset emails from WordPress do not land in spam. Remember that hosting plans may impose outgoing rate limits, especially to control abuse.
Day-one acceptance checklist
- The correct domain opens over HTTPS, including the preferred www/non-www version.
- WordPress administration is protected with strong credentials.
- An independent site and database backup exists.
- Contact forms work, and email authentication records are valid.
- The site has a lightweight caching strategy and sensible image sizes.
- You know how to open a support ticket and restore a working version.
What not to do on day one
Do not install dozens of plugins, change file permissions indiscriminately, or enable multiple caching systems simultaneously. Start with a minimal site, document the configuration, and add functionality after testing it.
Good cPanel administration is mostly disciplined routine. Secure access, valid DNS, tested backups, and small controlled changes go further than a complicated dashboard setup.
Frequently asked questions
Does cPanel automatically issue SSL immediately after account creation?
Not always. Domain DNS must resolve correctly, validation must be reachable, and the hosting provider’s AutoSSL process must run successfully.
Can I change PHP versions without breaking my website?
Changing a PHP version can break incompatible plugins or custom code. Test on staging, keep a backup, and confirm compatibility first.
What should I do before changing domain nameservers?
Copy every existing DNS record, especially mail-related records, then verify the new authoritative zone before switching.